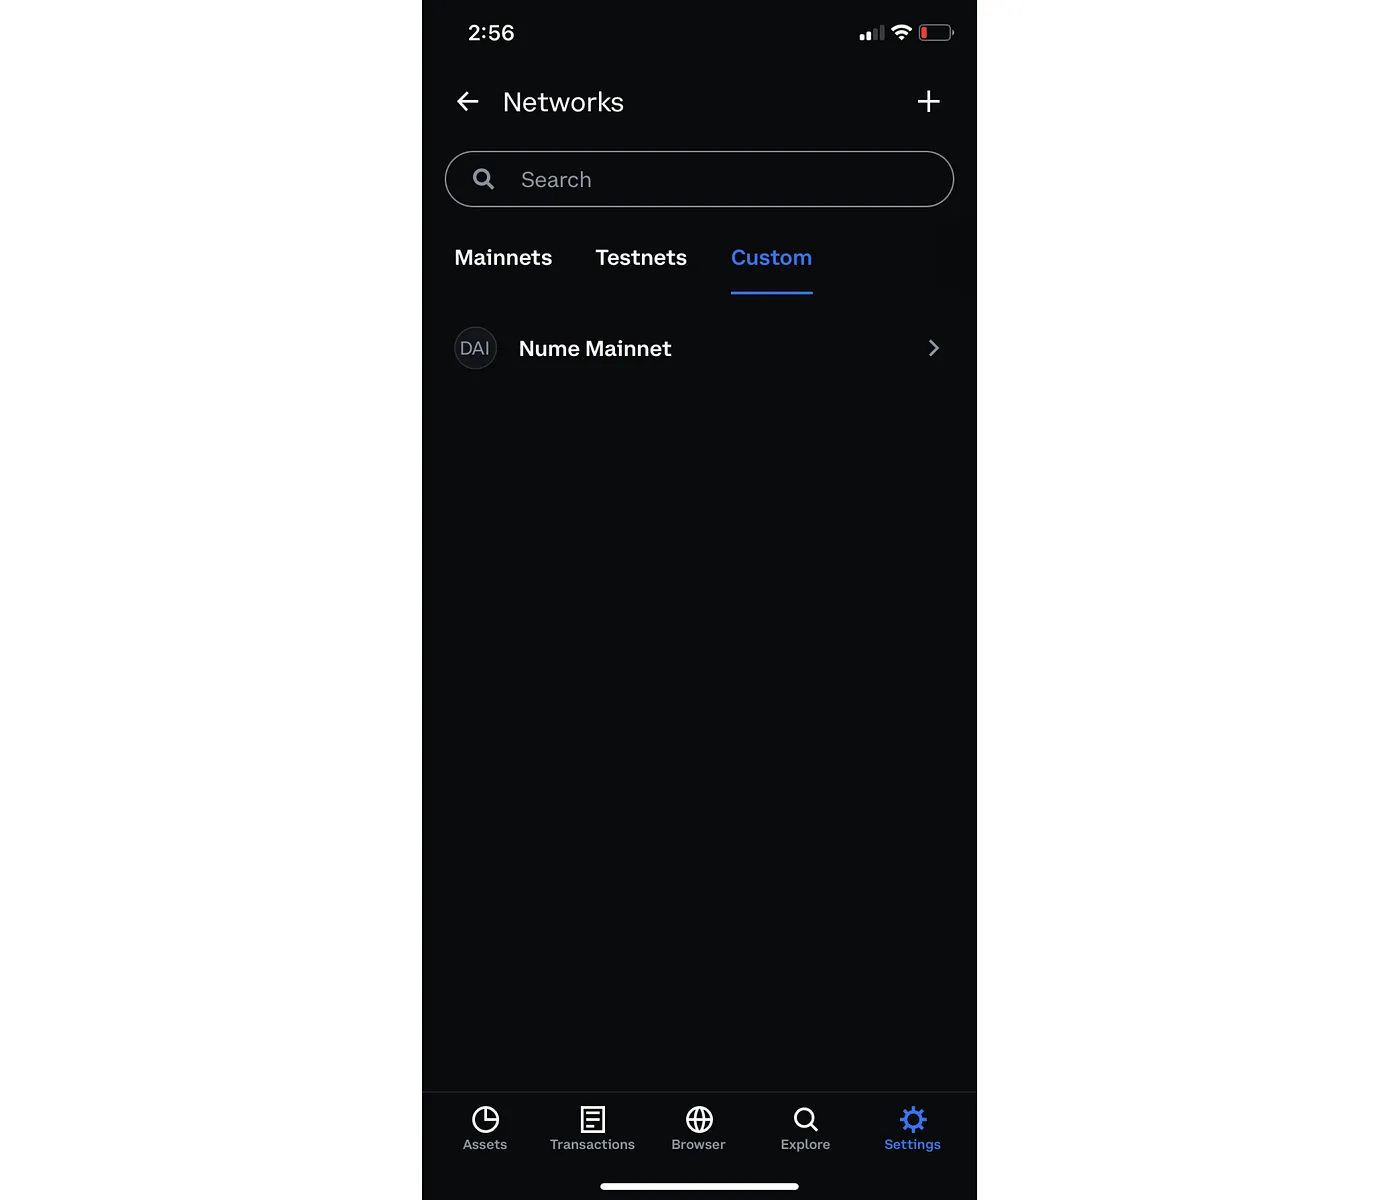
There are two ways to setup the Nume network on your EVM wallet: 1) Through the Nume Bridge (recommended) 2) Adding the Nume Mainnet network manually to your wallet.
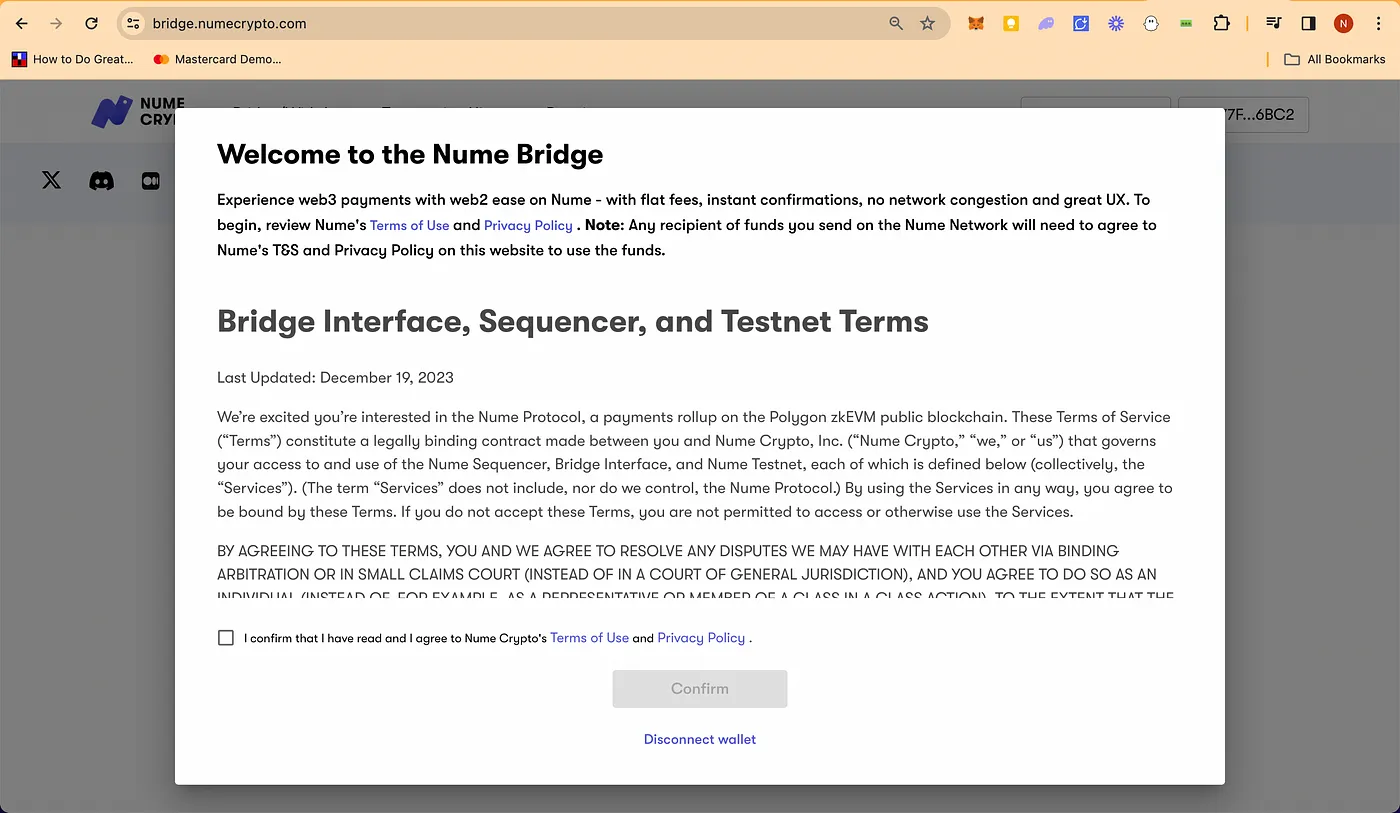
Note: To bridge or send funds on the Nume network, you and the recipient(s) will need to have agreed to Terms and Services and Privacy Policy on the Nume Bridge site.
1. Connecting to the Nume Network from the Nume Bridge
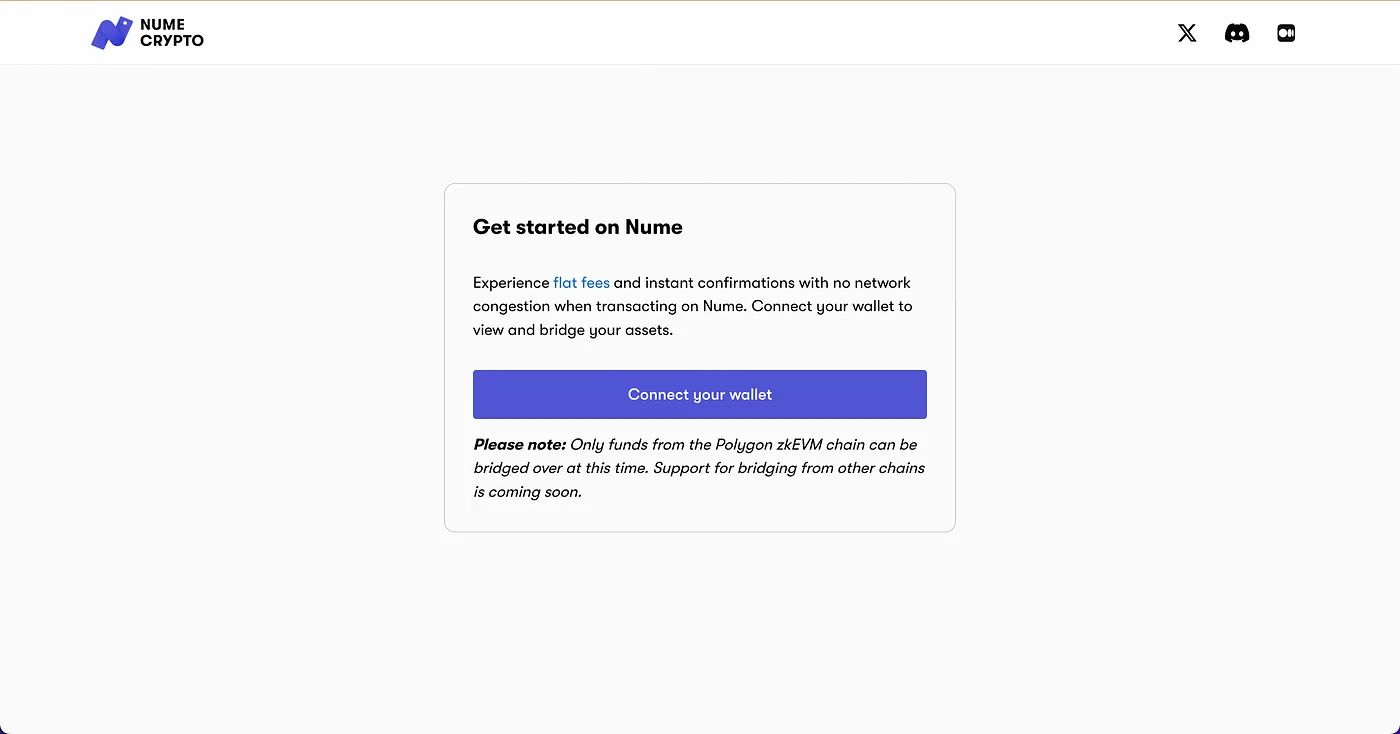
1. Connect your wallet at https://bridge.numecrypto.com/
2. Review and accept Nume’s T&S and Privacy Policy.
3. Click the ‘Add Nume Network’ button (top right)
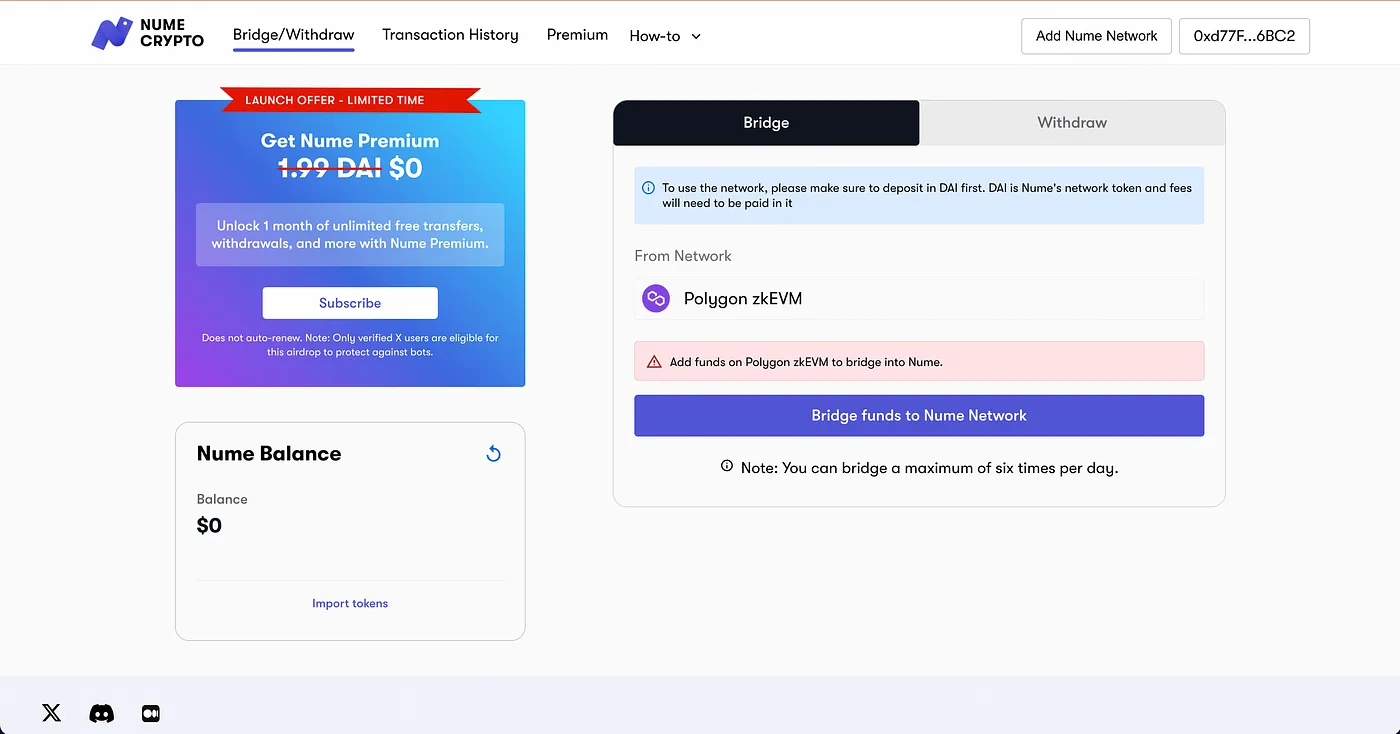
Congratulations, you are setup with the Nume Network! 🎉
2. Adding the Nume Network manually
Network details:
Network Name: Nume Mainnet
RPC URL: https://rpc.numecrypto.com
Chain ID: 7100
Currency Symbol: DAI
Block Explorer URL: https://explorer.numecrypto.com/
Note: To bridge or send funds on the Nume network, you and the recipient(s) will need to have agreed to Terms and Services and Privacy Policy on the Nume Bridge site.
Step-by-step guide on Metamask
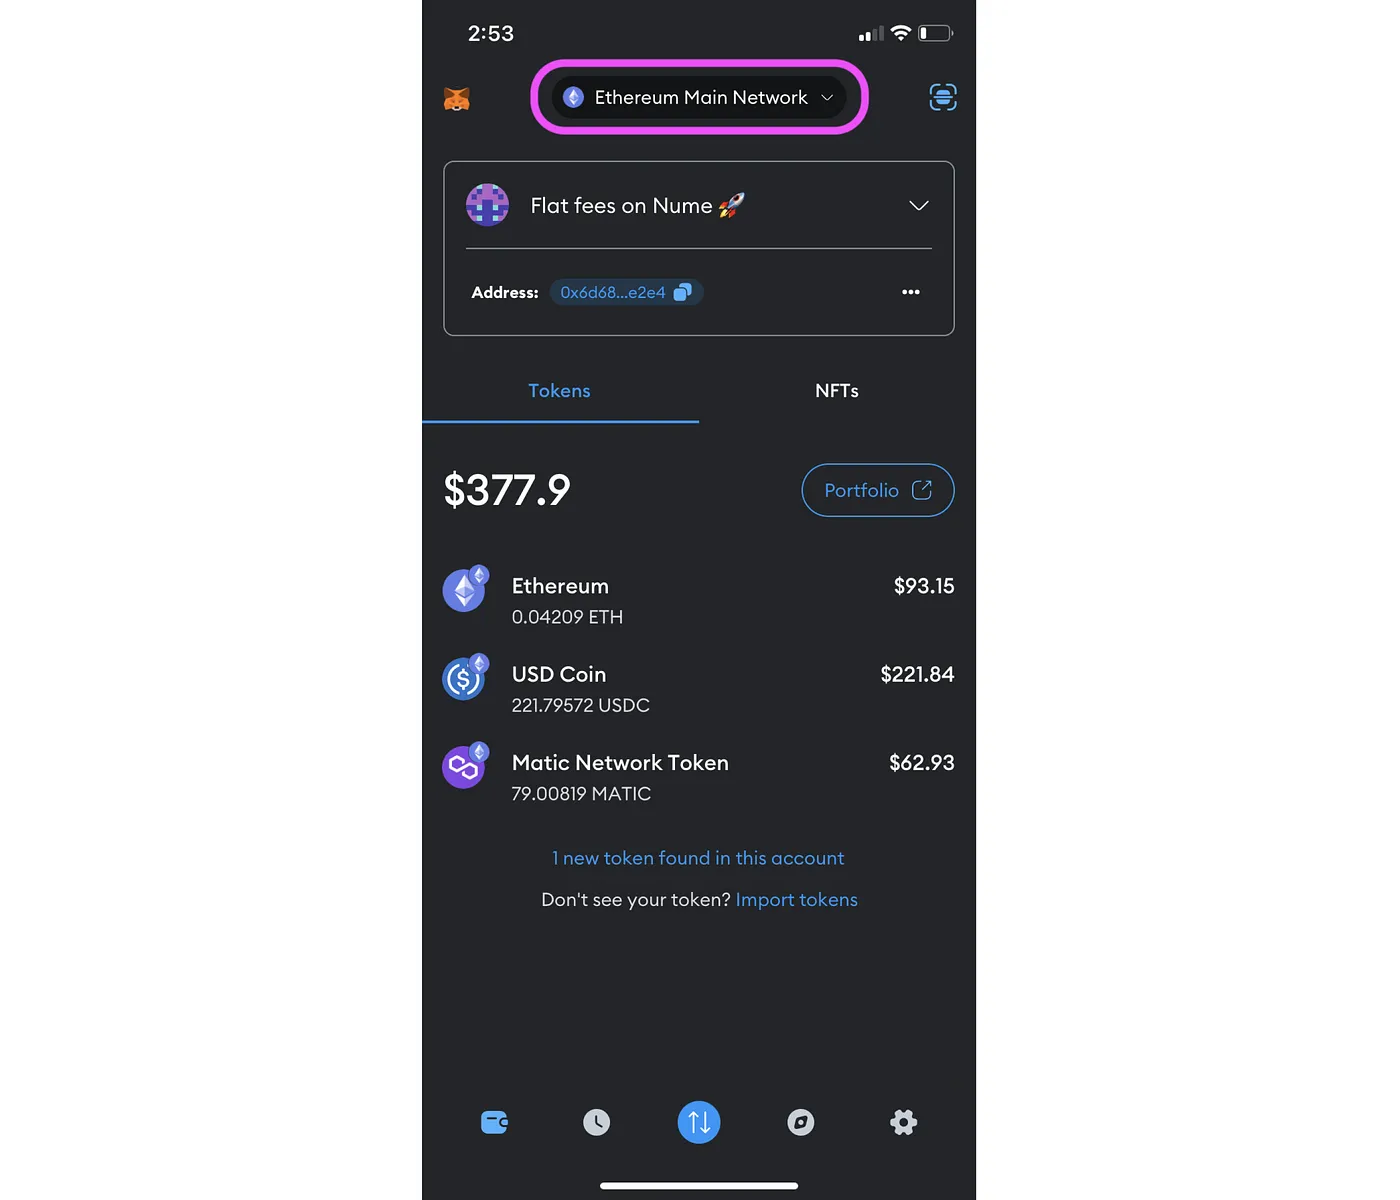
1. Select the network switcher
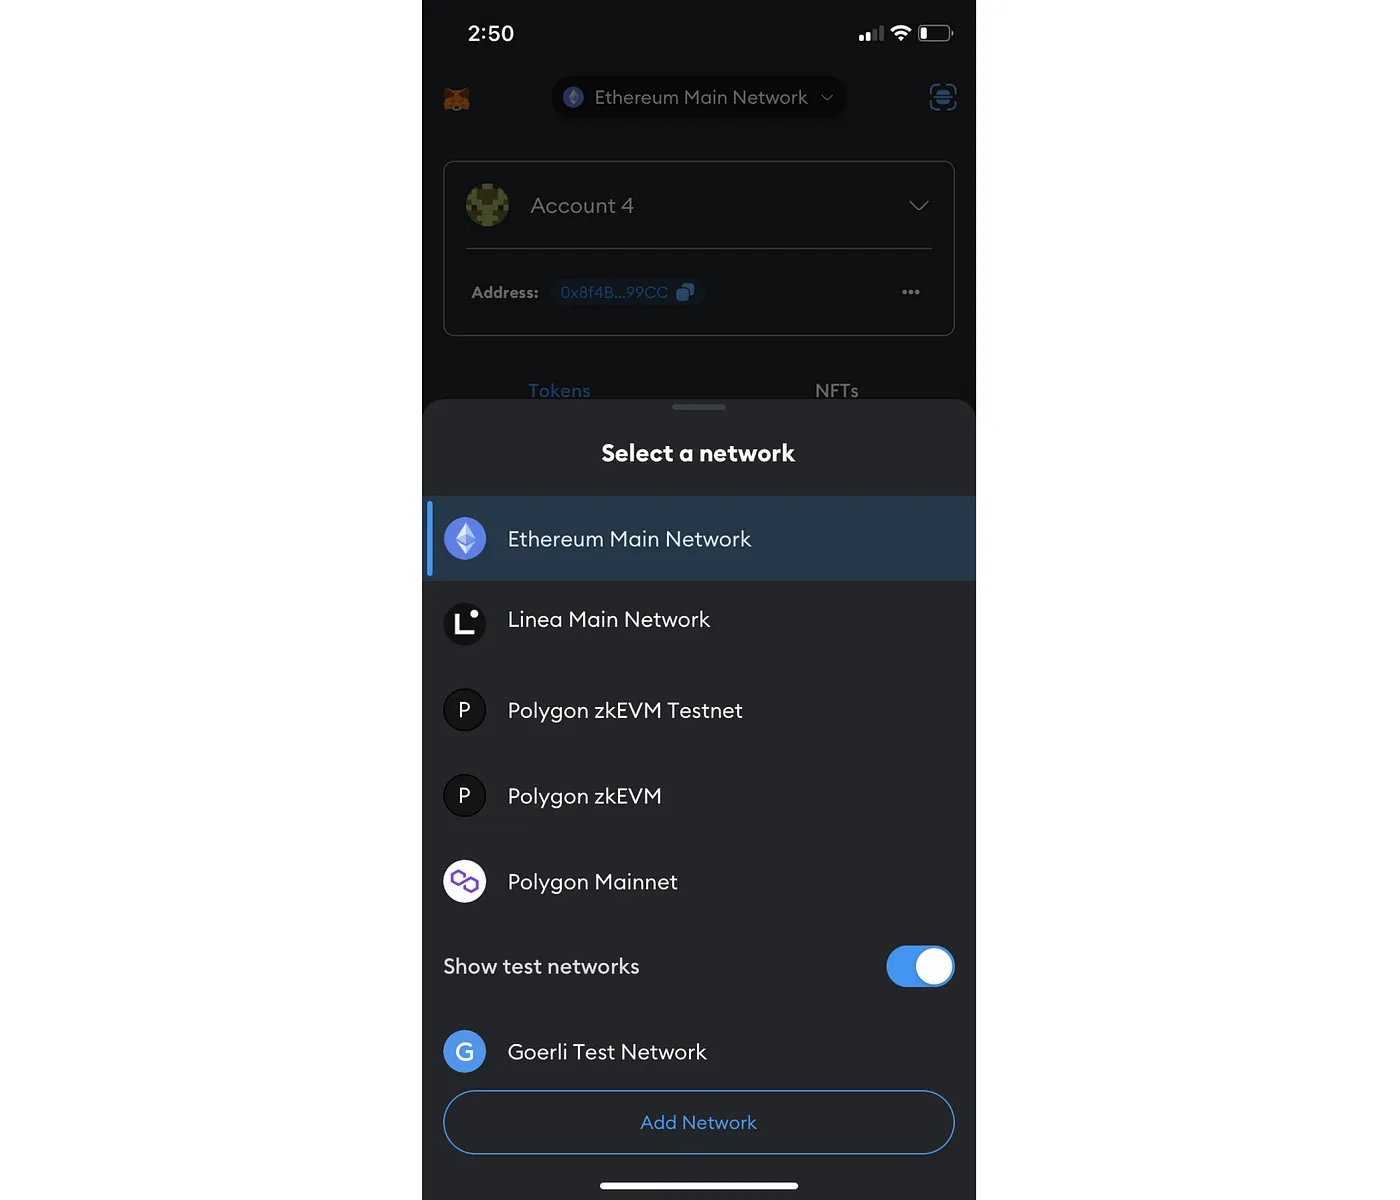
2. Click on Add network
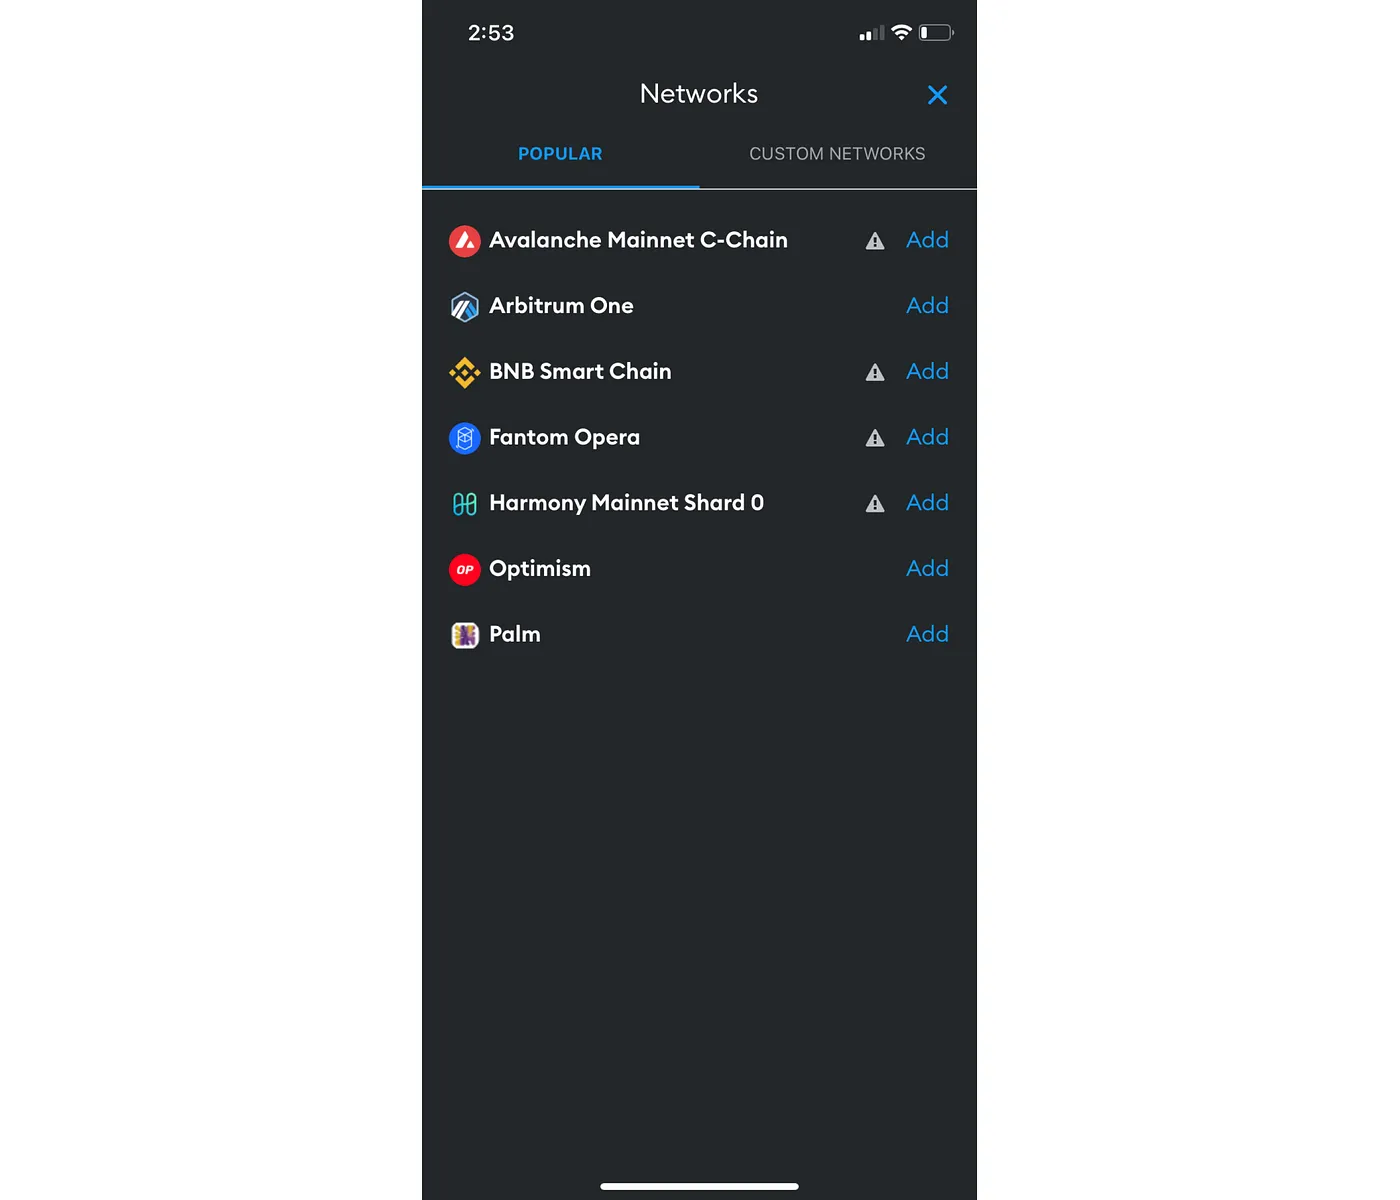
3. Select Custom Networks
4. Add Network details
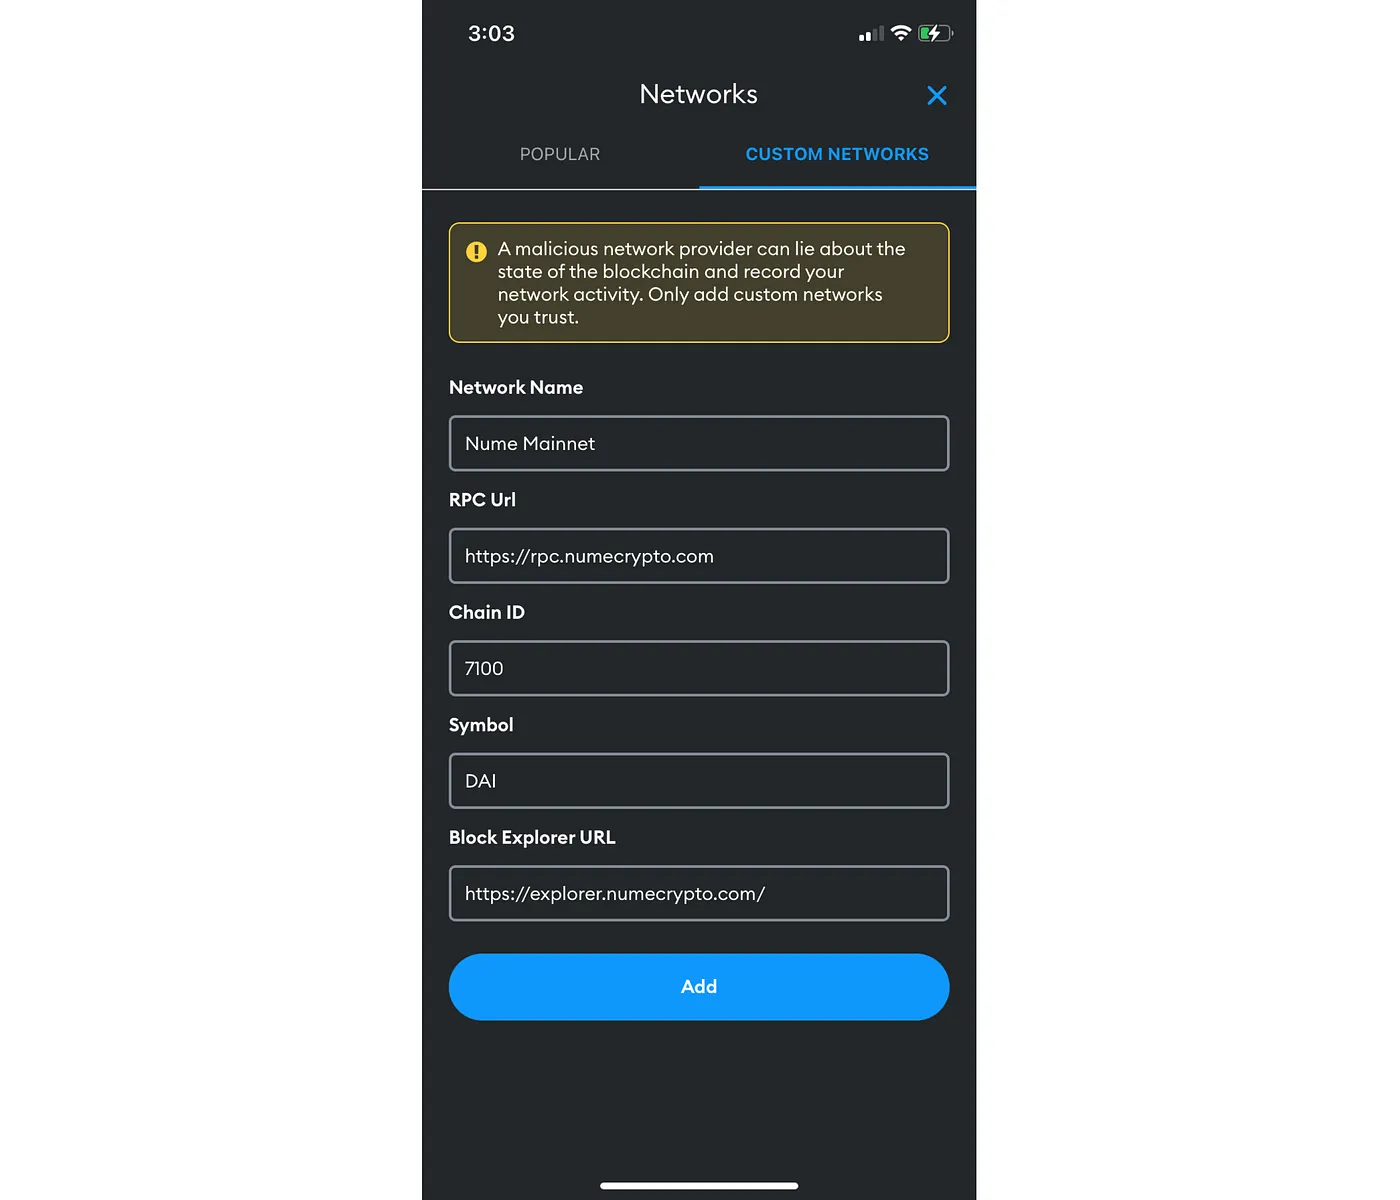
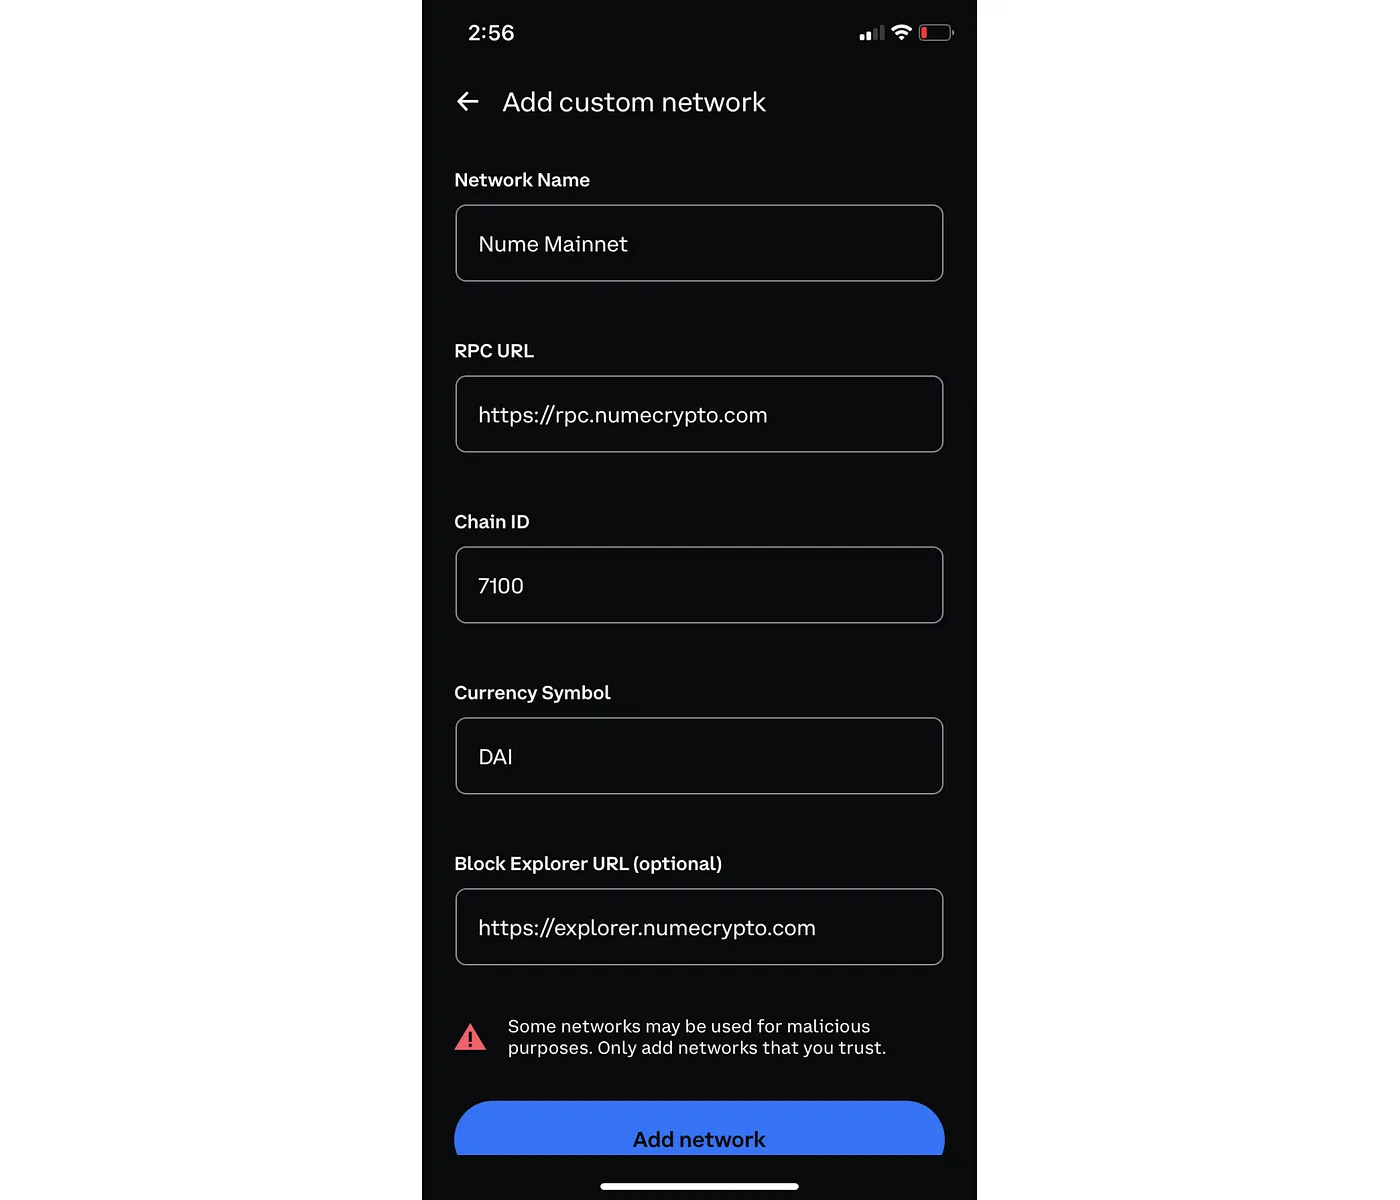
Network Name: Nume Mainnet
RPC URL: https://rpc.numecrypto.com
Chain ID: 7100
Currency Symbol: DAI
Block Explorer URL: https://explorer.numecrypto.com/
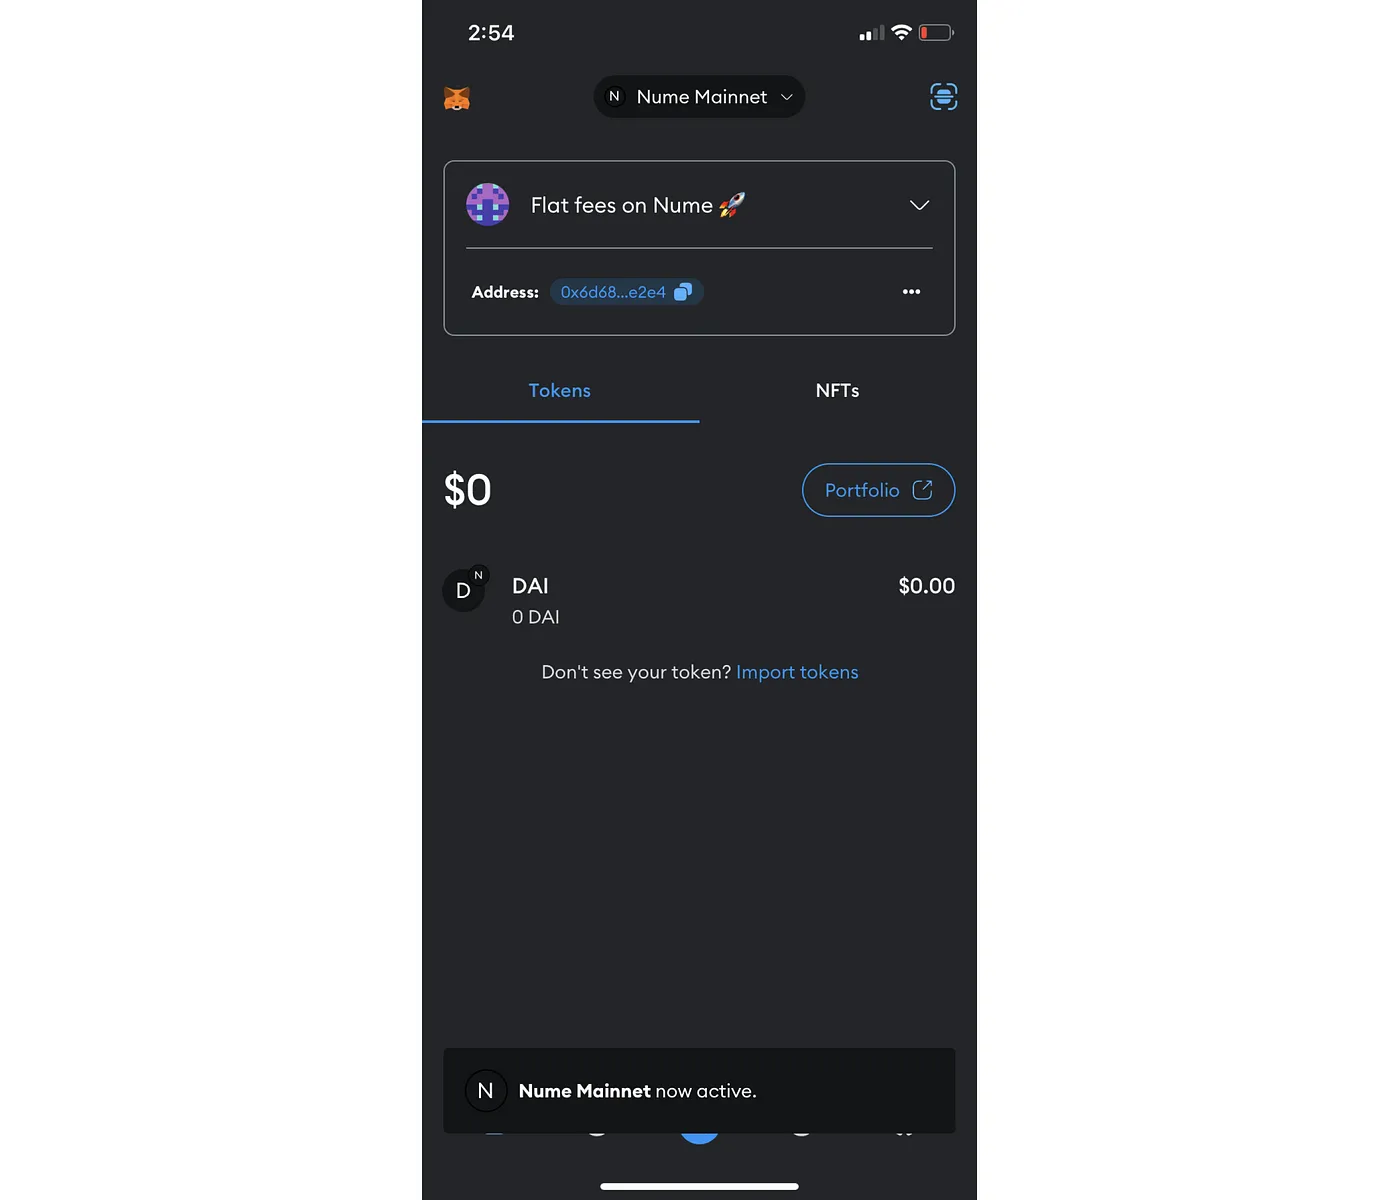
5. Balance view
Step-by-step guide on Coinbase Wallet
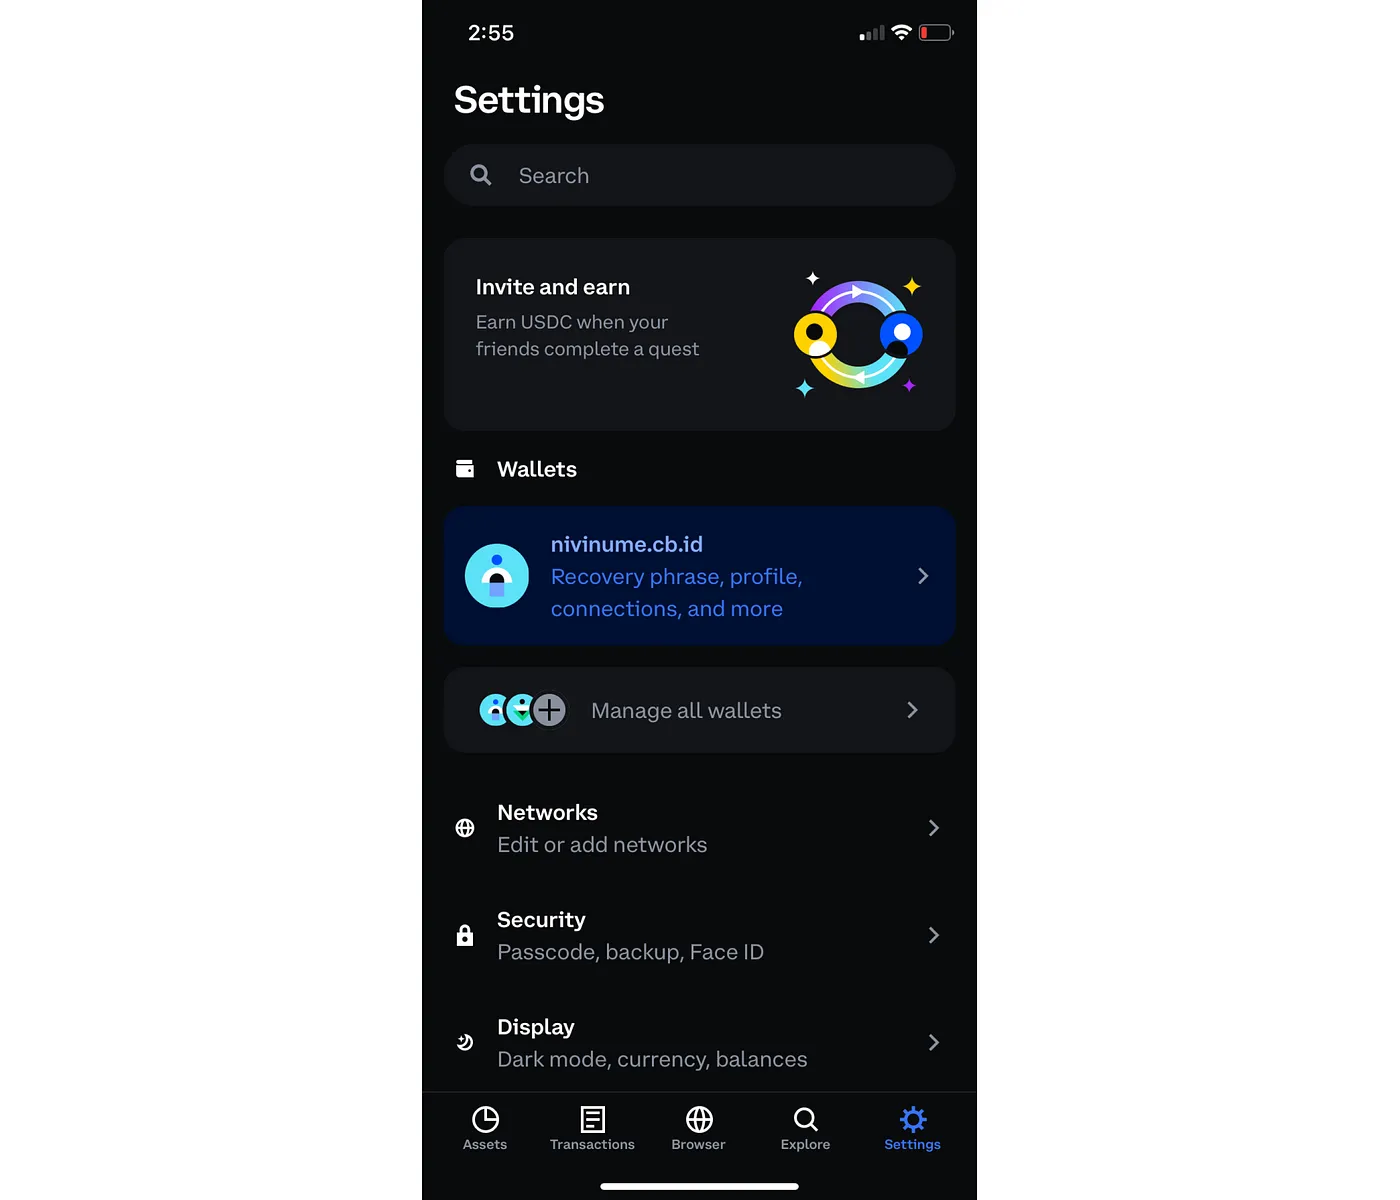
1. To add a network on the Coinbase wallet, go to Settings and click on Networks
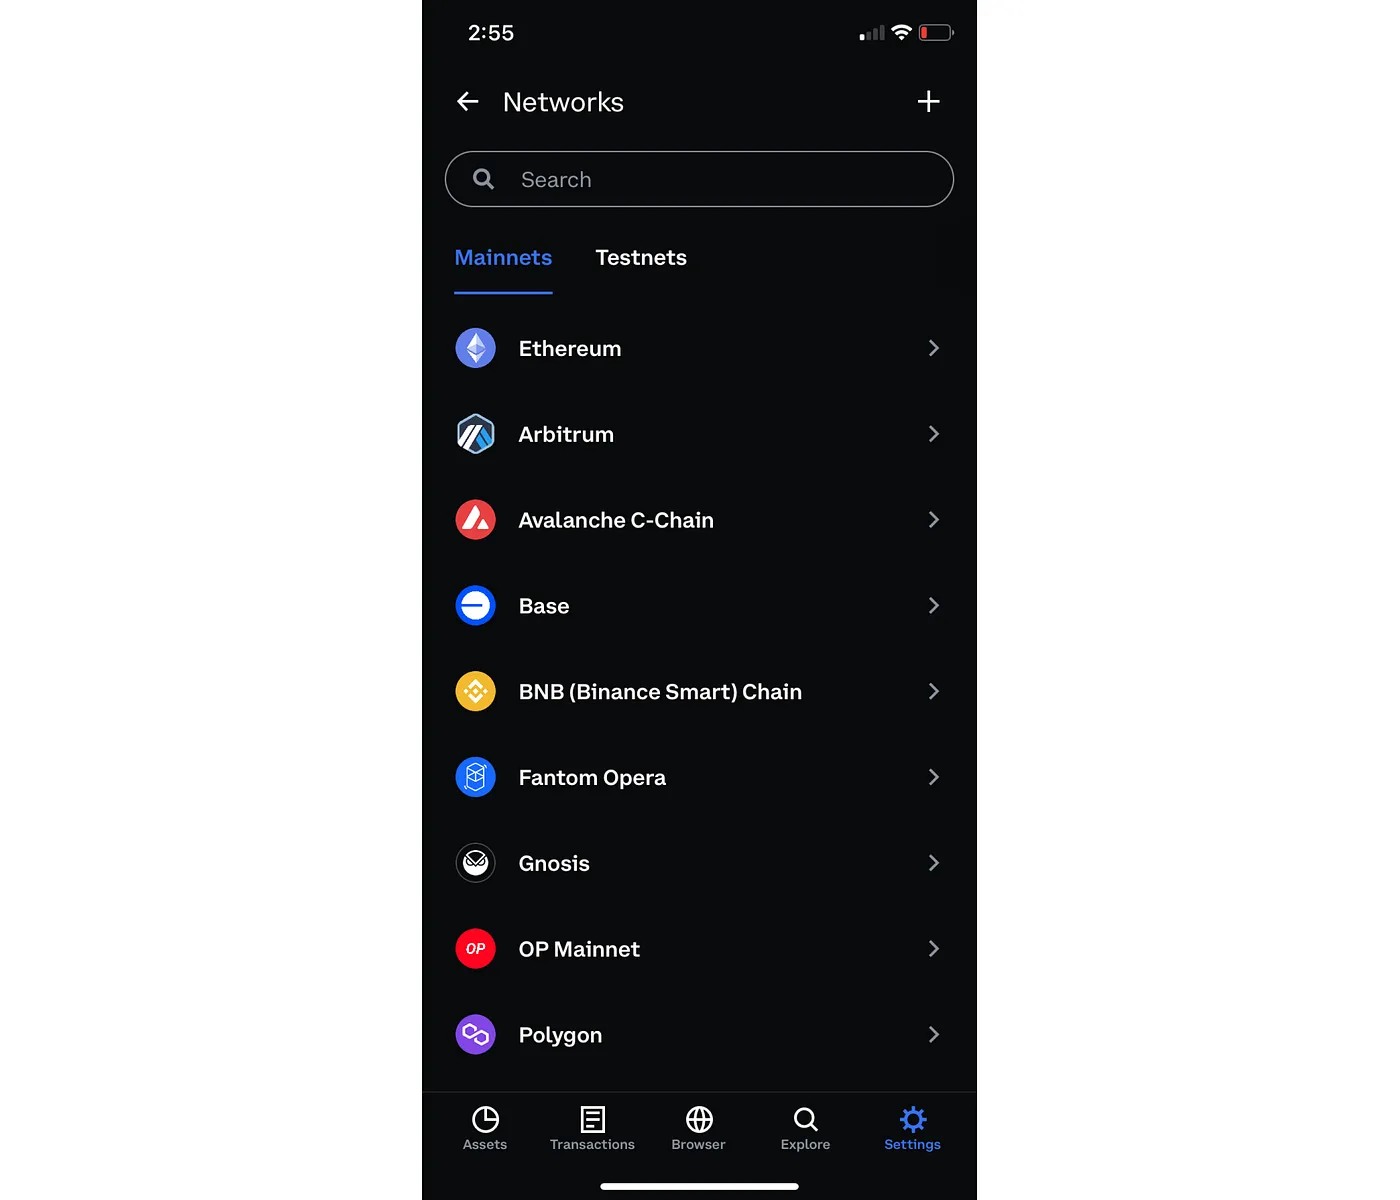
2. Click on the + icon on the top right
3. Enter network details and click on ‘Add network’
4. Make sure that the network has been added in the ‘Custom’ tab
